How to avoid bubbles when applying Surface Protection Films
2025-06-05
Step-by-Step Techniques to Avoid Air Bubbles
-
1
Prepare the Surface ThoroughlyEnsure the surface is completely clean:
- Use microfiber cloth + isopropyl alcohol (or manufacturer-recommended cleaner).
- Wipe in one direction; use mild detergent for stubborn residue.
Allow full drying before application. -
2
Work in a Controlled Environment- Apply in dust-free area; close windows/doors to reduce drafts.
- Use lint roller on work surface/clothing.
For water-based adhesives: slightly dampen air with spray bottle. -
3
Align Carefully Before Full Adhesion- Peel small portion of backing paper; align edge with surface.
- Use ruler/guide for straight placement; adjust positioning before pressing down. -
4
Use a Squeegee or Card for Bubble Removal- Smooth from center outward with soft squeegee/credit card/microfiber cloth.
- Apply even pressure; work in sections for large films, peeling backing gradually. -
5
Handle Small Bubbles Promptly- Lift film edge near bubble (use fingernail/pin); reposition and re-squeegee.
For stubborn bubbles: pierce with needle to release air. -
6
Choose the Right Film and Adhesive- Opt for films with air-release channels or low-tack adhesives.
- Thinner films for curves; thicker films need careful handling.
Follow manufacturer’s application guidelines. -
7
Take Your Time and Stay Patient- Work slowly, especially around corners/curves.
Gently stretch stretchable films on curved surfaces for even adhesion.
You Might Also Like
-
How to Remove Protective Transparent Plastic Film Without Damaging the Surface
-
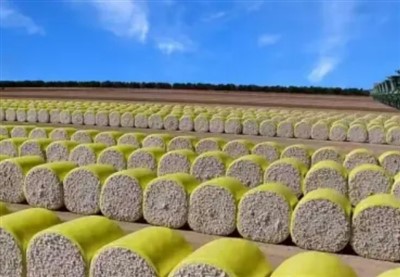
what are the advantages of cotton packaging film
-
How does pe protective film cope with high temperature environment
-
How Polyethylene Packaging Material Copes with High Temperature Environment
-
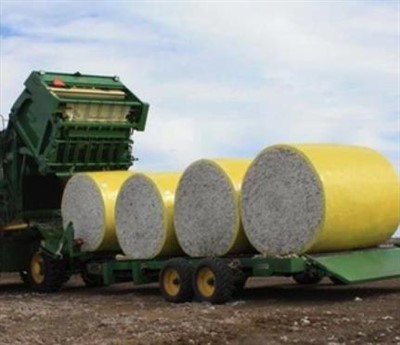
The Advantages of Cotton Wrap Film
-
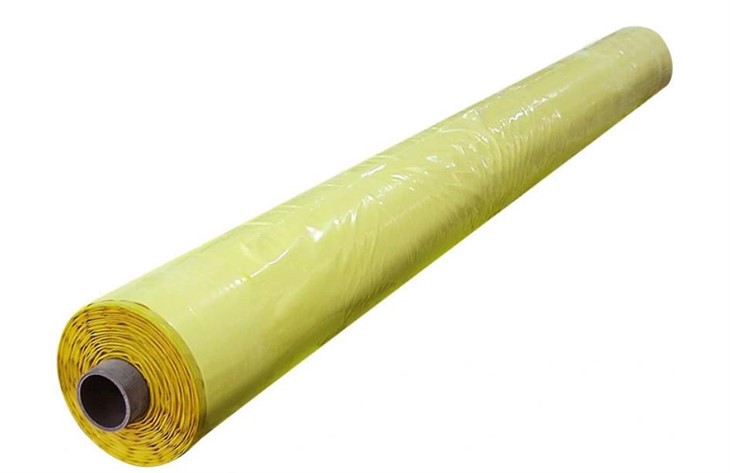
Advantages of Cotton Bale Wrap Film