How to correctly install Aluminum Protective Film
2025-04-22
Correct installation of Aluminum protective film is essential to ensure that it can effectively protect aluminum products. The specific steps are as follows:
1. Clean the surface of aluminum products
The first step is to thoroughly clean the surface of aluminum products. Use a clean, soft cloth and a suitable detergent to remove dirt, dust, oil stains or other impurities attached to the surface. After cleaning, make sure that the surface is completely dry before proceeding to the next step. Because any residual impurities will affect the adhesion of the protective film, resulting in loose fit and reduced protective performance.
2. Choose a suitable protective film
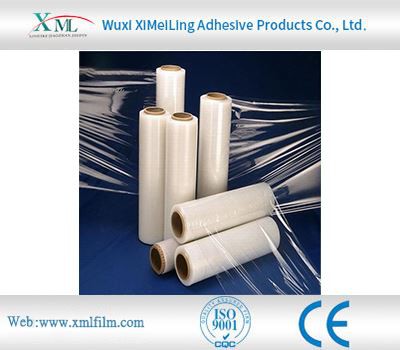
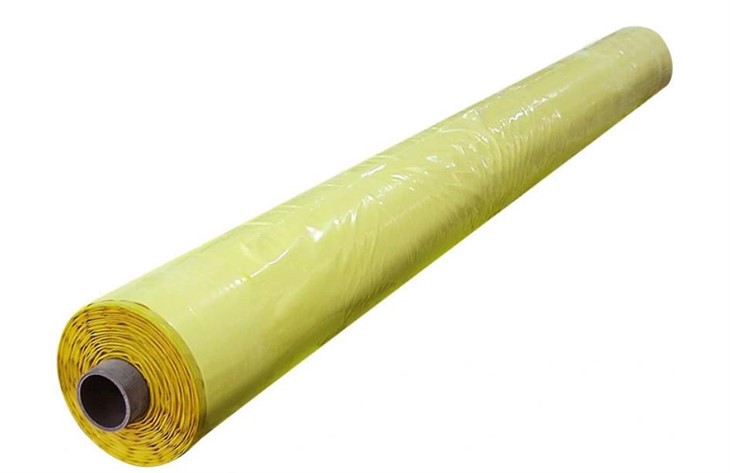
Select an appropriate Aluminum protective film according to the specific use scenarios and needs of aluminum products. If aluminum products are used for outdoor building decoration, a weather-resistant and UV-resistant protective film should be selected; if used inside electronic equipment, a protective film with anti-static properties should be considered. In addition, pay attention to the viscosity, thickness and other parameters of the protective film to match the processing technology and use environment of aluminum products. 3. Unroll the protective film
Carefully unroll the protective film from the reel, and avoid friction between the protective film and other objects during the process to avoid scratching the surface. Try to keep the protective film flat to prevent wrinkles or distortion, otherwise bubbles will be generated during lamination, affecting the protective effect and aesthetics.
4. Initial positioning and lamination
Align one end of the unfolded protective film with the starting position of the aluminum product to be laminated, and gently place it on without completely fixing it. Slowly move the protective film along the surface of the aluminum product to gradually cover it. During the process, always pay attention to the parallelism between the protective film and the edge of the aluminum product to ensure the overall position is accurate.
5. Squeeze out bubbles
Starting from the laminated end, use a clean scraper or similar tool, such as a credit card, to gently scrape and press from the lamination point to the other end. When scraping and pressing, apply even force to squeeze out the air between the protective film and the surface of the aluminum product to avoid residual bubbles. If large bubbles appear, gently lift a corner of the protective film and scrape and press again to expel the bubbles.
6. Edge processing
After the protective film is fully laminated, use a sharp knife to cut off the excess protective film along the edge of the aluminum product to ensure that the edges are neat. For some parts with special shapes or corners, be careful to operate so that the protective film can be tightly wrapped to provide comprehensive protection.
1. Clean the surface of aluminum products
The first step is to thoroughly clean the surface of aluminum products. Use a clean, soft cloth and a suitable detergent to remove dirt, dust, oil stains or other impurities attached to the surface. After cleaning, make sure that the surface is completely dry before proceeding to the next step. Because any residual impurities will affect the adhesion of the protective film, resulting in loose fit and reduced protective performance.
2. Choose a suitable protective film
Select an appropriate Aluminum protective film according to the specific use scenarios and needs of aluminum products. If aluminum products are used for outdoor building decoration, a weather-resistant and UV-resistant protective film should be selected; if used inside electronic equipment, a protective film with anti-static properties should be considered. In addition, pay attention to the viscosity, thickness and other parameters of the protective film to match the processing technology and use environment of aluminum products. 3. Unroll the protective film
Carefully unroll the protective film from the reel, and avoid friction between the protective film and other objects during the process to avoid scratching the surface. Try to keep the protective film flat to prevent wrinkles or distortion, otherwise bubbles will be generated during lamination, affecting the protective effect and aesthetics.
4. Initial positioning and lamination
Align one end of the unfolded protective film with the starting position of the aluminum product to be laminated, and gently place it on without completely fixing it. Slowly move the protective film along the surface of the aluminum product to gradually cover it. During the process, always pay attention to the parallelism between the protective film and the edge of the aluminum product to ensure the overall position is accurate.
5. Squeeze out bubbles
Starting from the laminated end, use a clean scraper or similar tool, such as a credit card, to gently scrape and press from the lamination point to the other end. When scraping and pressing, apply even force to squeeze out the air between the protective film and the surface of the aluminum product to avoid residual bubbles. If large bubbles appear, gently lift a corner of the protective film and scrape and press again to expel the bubbles.
6. Edge processing
After the protective film is fully laminated, use a sharp knife to cut off the excess protective film along the edge of the aluminum product to ensure that the edges are neat. For some parts with special shapes or corners, be careful to operate so that the protective film can be tightly wrapped to provide comprehensive protection.
You Might Also Like
-
How to Remove Protective Transparent Plastic Film Without Damaging the Surface
-
what are the advantages of cotton packaging film
-
How does pe protective film cope with high temperature environment
-
How Polyethylene Packaging Material Copes with High Temperature Environment
-
The Advantages of Cotton Wrap Film
-
Advantages of Cotton Bale Wrap Film