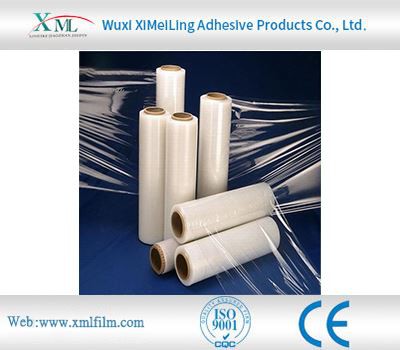
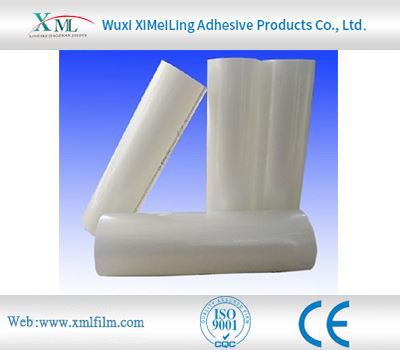
How to stick the Clear Adhesive Protective Film
2025-11-10
Prepare the Surface Thoroughly
Start by ensuring the surface where the film will be applied is completely clean. Wipe away any dust, dirt, or oil using a soft, lint-free cloth. For stubborn residues, use a mild cleaning solution that does not damage the surface, then dry it thoroughly with a separate clean cloth. Make sure the surface is smooth and free of any bumps or debris, as even small particles can cause bubbles or uneven adhesion later.Align the Film Precisely
Lay the clear adhesive protective film flat on a clean, flat surface with the adhesive side facing up or carefully peel back a small portion of the backing paper to expose the adhesive. Position the film over the target surface, holding it gently to avoid touching the adhesive with your fingers. Adjust the position slowly to ensure it lines up perfectly with the edges and any cutouts or features of the surface. Take your time during this step to prevent misalignment, as correcting it later may damage the adhesive.Apply Gradually and Smooth Out Bubbles
Once aligned, begin applying the film from one edge to the other. Peel back the backing paper bit by bit as you go, pressing the film firmly onto the surface with a soft cloth or a squeegee. Move in smooth, even strokes from the center outward to push out any air bubbles that form. If bubbles appear, lift the nearby section of the film slightly and reapply, using the cloth to smooth it down again. Avoid applying too much pressure, as this can stretch or tear the film.Finalize and Inspect
After the entire film is applied, go over the surface one more time with the cloth or squeegee to ensure full adhesion. Check for any remaining bubbles, wrinkles, or areas where the film is not properly attached. If needed, use a sharp, non-abrasive tool to trim any excess film along the edges, taking care to follow the contour of the surface. Allow the film to set for a short period before using the item, giving the adhesive time to bond securely.You Might Also Like
-
How to Remove Protective Transparent Plastic Film Without Damaging the Surface
-
what are the advantages of cotton packaging film
-
How does pe protective film cope with high temperature environment
-
How Polyethylene Packaging Material Copes with High Temperature Environment
-
The Advantages of Cotton Wrap Film
-
How to avoid bubbles when applying Surface Protection Films