Installation method of Clear protective film for cars
2025-04-18
1. Preparation:
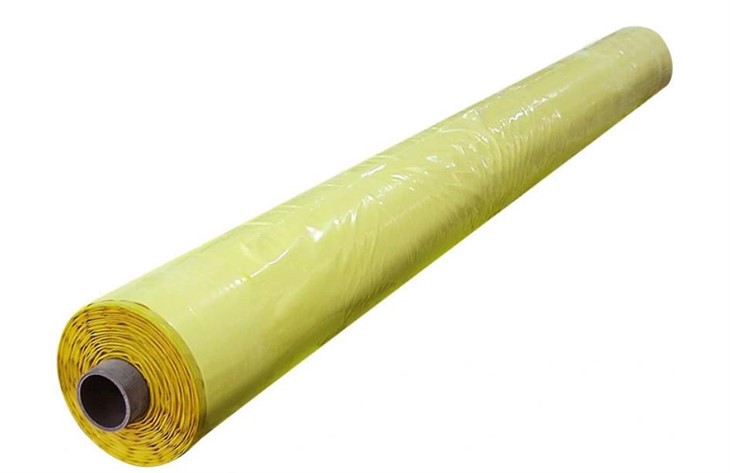
Material preparation: Purchase high-quality Clear protective film for cars to ensure that the size is suitable for the car model. Prepare installation liquid (dispensing liquid and water can be mixed in a ratio of 1:100), wiper, utility knife, towel and other tools.
Site selection: Choose a closed and clean indoor site to avoid dust affecting the film effect.
2. Car body cleaning:
Rinse: Use clean water to rinse off the mud and dust on the surface of the car body, and rinse from top to bottom, including the roof, side of the car body, hood, trunk and other parts.
Car washing: Use neutral car washing liquid and sponge or soft cloth to gently wipe the car body to remove stains and oil stains, focusing on cleaning the door handles, bumpers, bottom of the car body and other areas that are easy to get dirty.
Dry: Use a clean towel to dry the car body to ensure that there is no water residue. Then wipe the car body with alcohol or special detergent to further remove grease and impurities and enhance the adhesion of the film.
3. Film application process:
Cutting film material: According to the shape of the car body parts, such as doors and hoods, cut the protective film into appropriate sizes, leaving a certain edge for subsequent adjustment.
Apply installation liquid: Spray the installation liquid evenly on the part of the car body to be applied and the inside of the protective film. The installation liquid can make the film slide on the surface of the car body for easy positioning.
Film application: Carefully apply the protective film to the car body, slowly apply it from one end, and use a wiper to squeeze out the installation liquid and bubbles while applying. First scrape from the middle to both sides, then scrape from top to bottom, pay attention to even force to prevent the film from wrinkling.
Edge processing: Use a utility knife to carefully cut off the excess film material along the edge of the car body to ensure that the edges are neat and fit.
4. Check and finish:
Comprehensive inspection: After applying, check the car body from different angles to see if there are bubbles, wrinkles or loose fit.
Remedial measures: If there are small bubbles, pierce them with a needle and then squeeze them out with a wiper; if there are wrinkles, carefully peel them off and re-apply them; if they are not firmly attached, use a hair dryer to heat them and then use a wiper to compact them.
You Might Also Like
-
How to Remove Protective Transparent Plastic Film Without Damaging the Surface
-
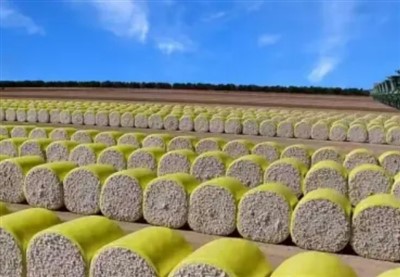
what are the advantages of cotton packaging film
-
How does pe protective film cope with high temperature environment
-
How Polyethylene Packaging Material Copes with High Temperature Environment
-
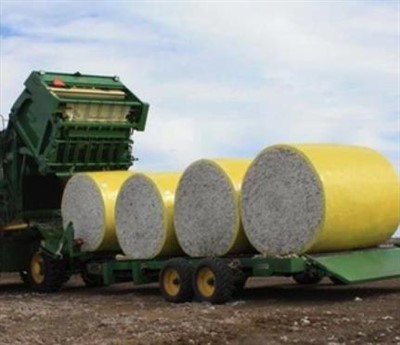
The Advantages of Cotton Wrap Film
-
Advantages of Cotton Bale Wrap Film