Key Steps and Techniques for Installing Carpet Protectors
2025-07-30
1Prepare the Carpet
- Clean the carpet surface to remove debris and dust
- Pre-clean any stains and allow to dry completely
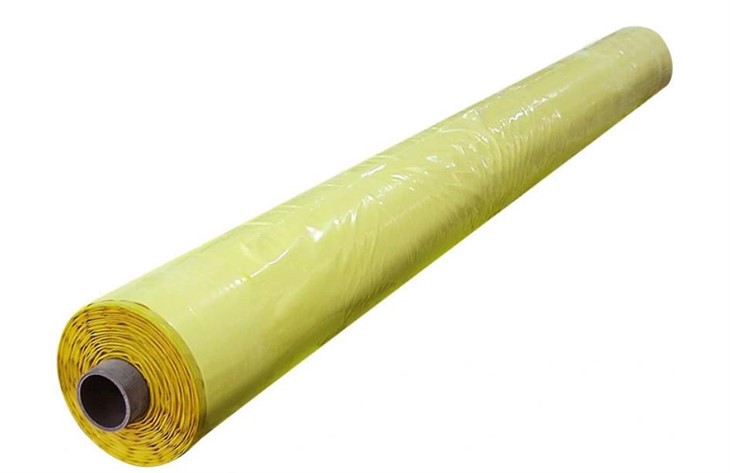
- Cut protective film to carpet dimensions with adjustment margin
- Inspect film for damage and verify material compatibility
- Select non-corrosive film for delicate carpets like wool
2Lay the Protective Film
- Begin at one end and unroll film gently to prevent stretching
- Maintain flatness using soft cloth/scraper during application
- Eliminate air bubbles immediately as they appear
- Overlap edges slightly when splicing is necessary
- Ensure tight connections without warping at seams
3Detailing Corners
- Custom-cut film for precise fitting around corners
- For furniture legs: shape film to contour precisely
- Staircase application: wrap around step edges securely
- Doorway transition: extend film slightly onto floor surface
- Prevent bending/rolling at high-traffic transition areas
4Secure the Carpet
- Non-adhesive carpets: use weighted objects on edges
- Adhesive carpets: ensure clean surface before pressing
- High-traffic areas: reinforce edges with special tape
- Avoid adhesive damage to delicate carpet materials
- Apply uniform pressure for full adhesive contact
5Post-Installation Inspection
- Check thoroughly for wrinkles/bubbles/warping
- Address imperfections immediately with scraper tools
- Allow settling period before final inspection
- Verify secure adhesion without walking interference
- Protect from sharp objects during daily use
You Might Also Like
-
How to Remove Protective Transparent Plastic Film Without Damaging the Surface
-
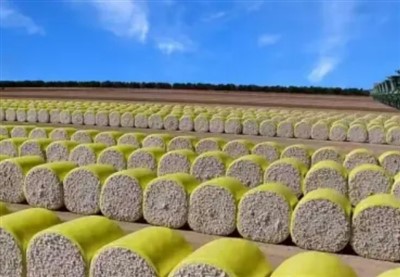
what are the advantages of cotton packaging film
-
How does pe protective film cope with high temperature environment
-
How Polyethylene Packaging Material Copes with High Temperature Environment
-
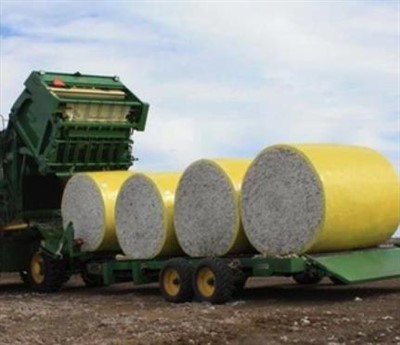
The Advantages of Cotton Wrap Film
-
Advantages of Cotton Bale Wrap Film